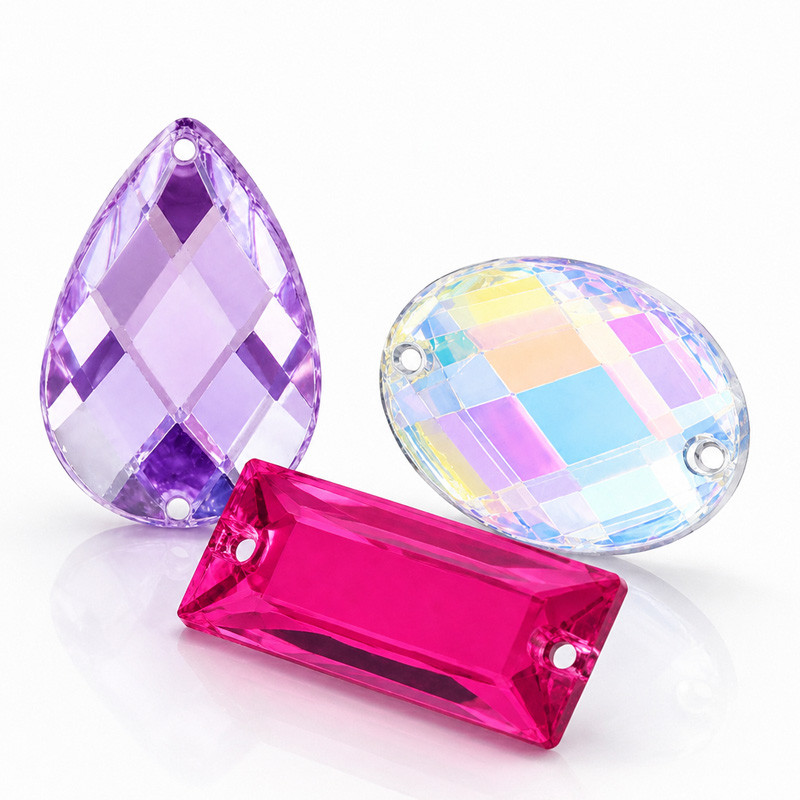


What Are Sew-On Glass Rhinestones and How to Use Them Effectively?
```html
How to Apply Sew-On Glass Rhinestones to Jewelry and Garments
Learn how to apply sew-on glass rhinestones to jewelry and garments: plan placement, choose tools and thread, prepare the surface and test the finished application.
Sew-on glass rhinestones offer a secure and durable way to add sparkle to jewelry, garments and accessories. Unlike glue-on or hotfix formats, sew-on stones are attached with thread, which makes them a practical choice for items that need to withstand movement, handling and repeated wear.
This guide explains how to apply sew-on glass rhinestones to jewelry and garments. It covers design preparation, surface marking, hole placement, stitching technique, fabric-specific considerations and inspection after application. The focus is on practical steps that help buyers and makers test a product before scaling to bulk production.
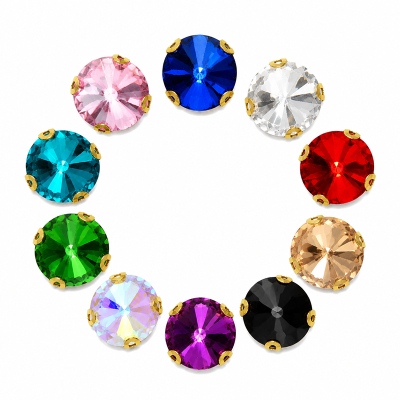
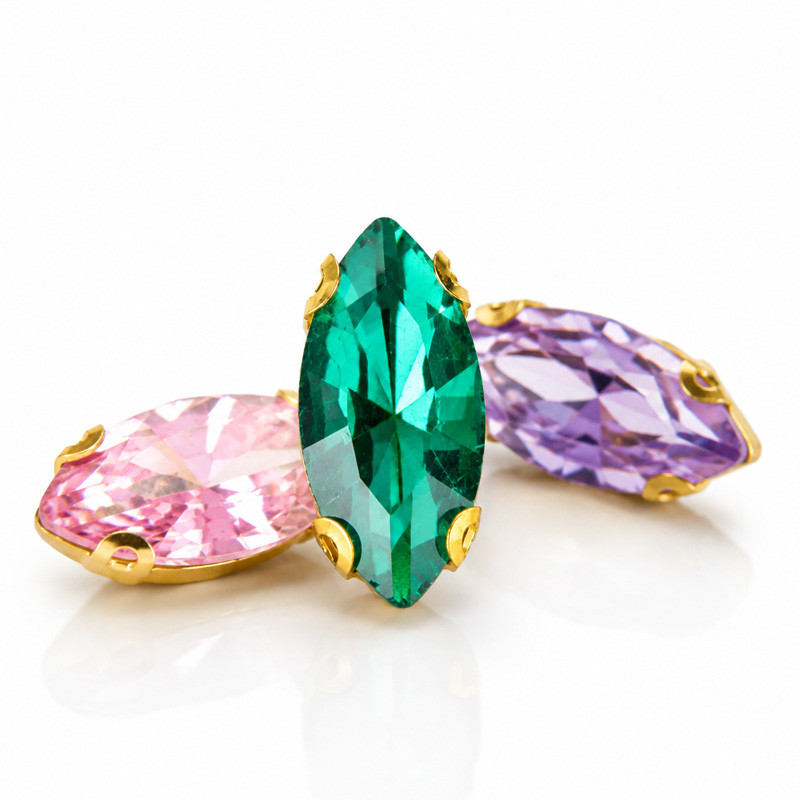
For product options, review G&J’s sew-on glass rhinestone collection and the wholesale claw rhinestone range .
Prepare the Design and Surface
Plan the Placement
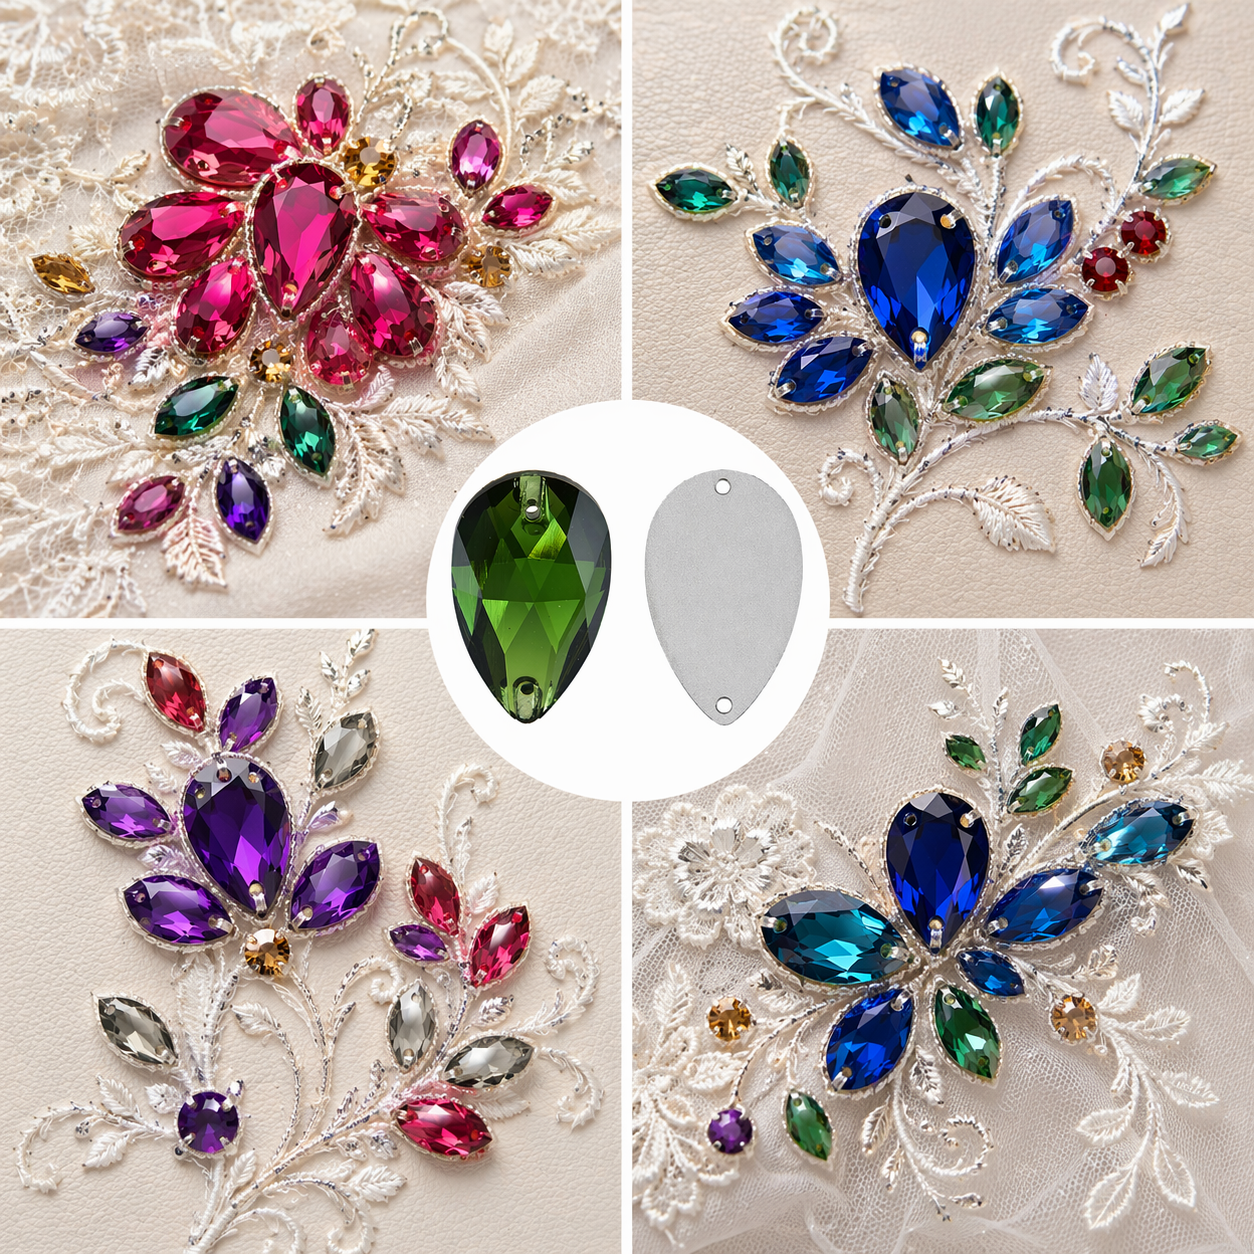
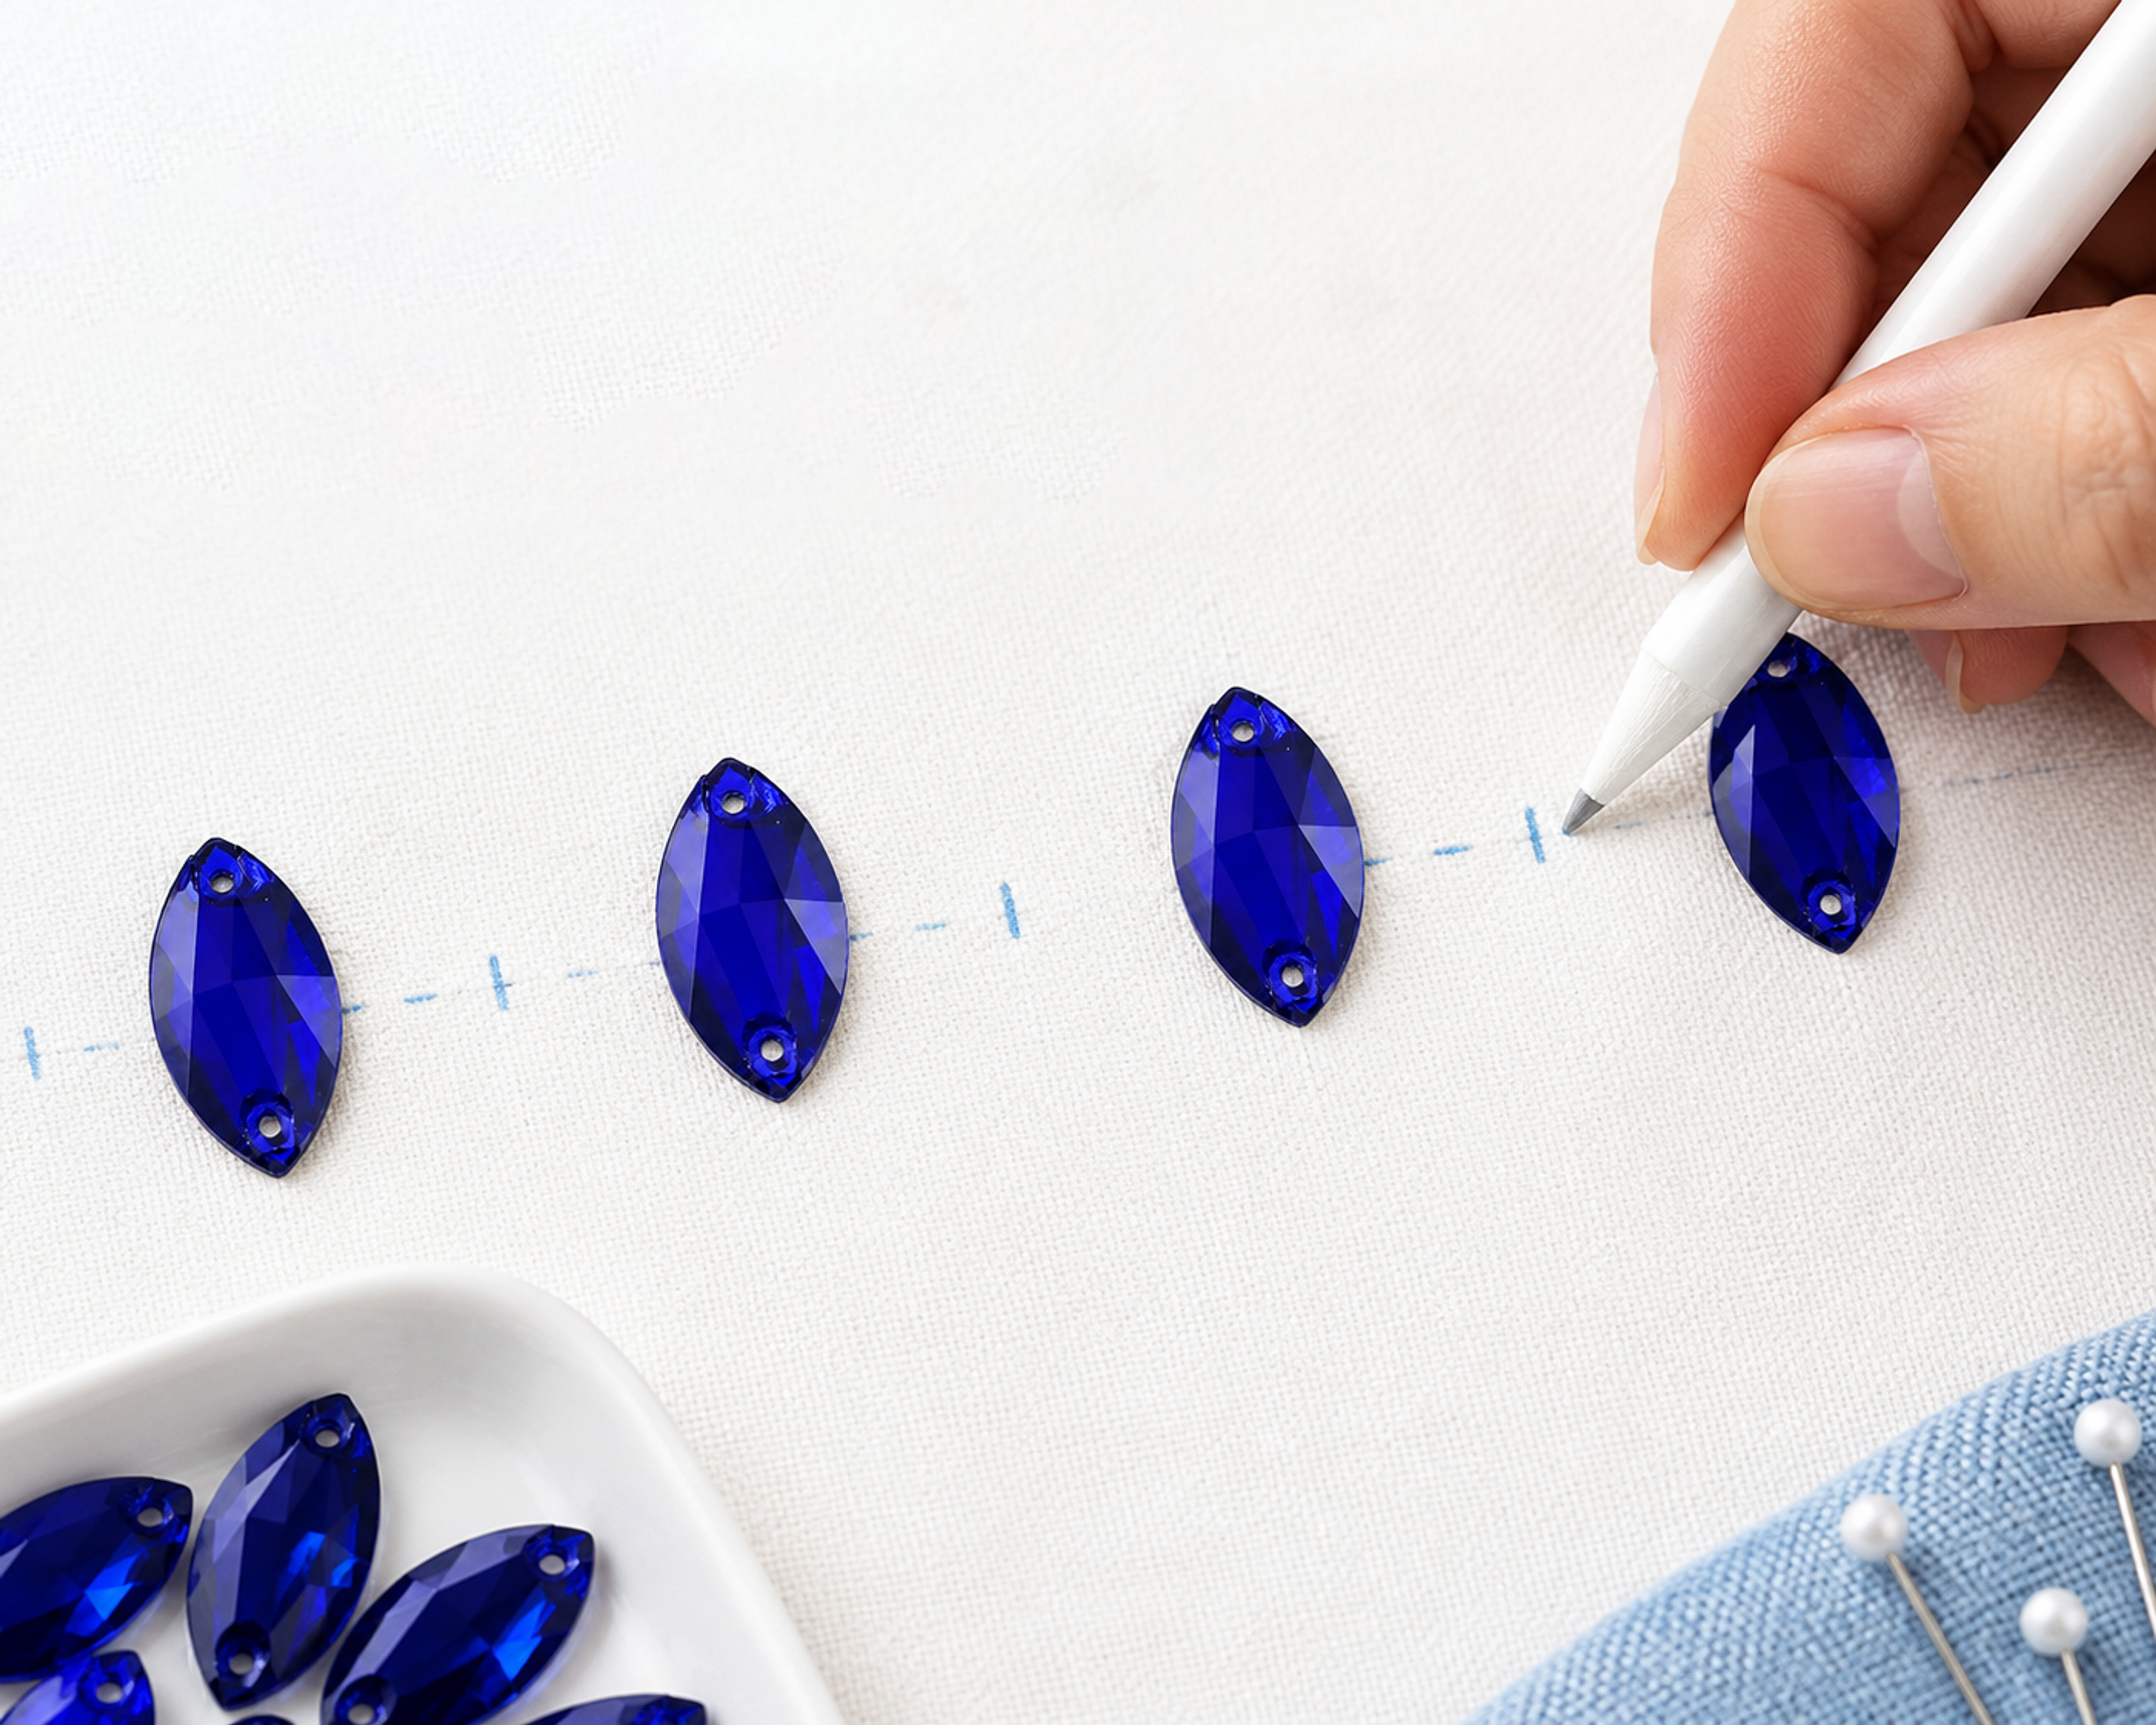
Before stitching, plan the design on paper. Sketch the layout, decide the size and shape of each stone, and confirm how the holes will align with the design direction. For symmetrical or repeated patterns, a full-scale template can help transfer the layout accurately to the fabric.
Consider the visual scale of the finished product. Smaller stones are often used for detail work, while larger stones create a stronger focal point. Mixing sizes can add depth, but the layout should be tested before bulk application.
Mark the Surface
Transfer the design onto the fabric with a fabric chalk pencil or a water-soluble marker. If you are using a paper template, pin it in place and mark through the holes. Accurate marking helps keep spacing consistent and reduces the risk of uneven placement.
Test the marking tool on a scrap of the same fabric first. Some markers may be difficult to remove from certain materials.
Prepare the Fabric
Pre-wash and dry the fabric according to its care instructions. This removes sizing chemicals and pre-shrinks the material, which helps prevent puckering around the stitched stones after the first wash. Iron the fabric flat before marking the design.
For thin or sheer fabrics, place a piece of cardboard or wax paper between the layers to prevent stitches from passing through to the other side. For stretchy or delicate materials, consider adding a lightweight stabilizer to the back of the embellished area.
Plan Hole Placement and Stitching
Understand the Hole Position
Sew-on rhinestones usually have one or two holes. The hole position affects how the stone sits on the fabric and how the thread path should be planned. Before stitching, confirm the hole position, spacing and direction for the selected stone.
For two-hole stones, the stitch path usually passes up through one hole and down through the other. Repeating this path two to four times helps anchor the stone firmly. The goal is for the stone to sit flat and stable without wobbling.
Choose Needle and Thread
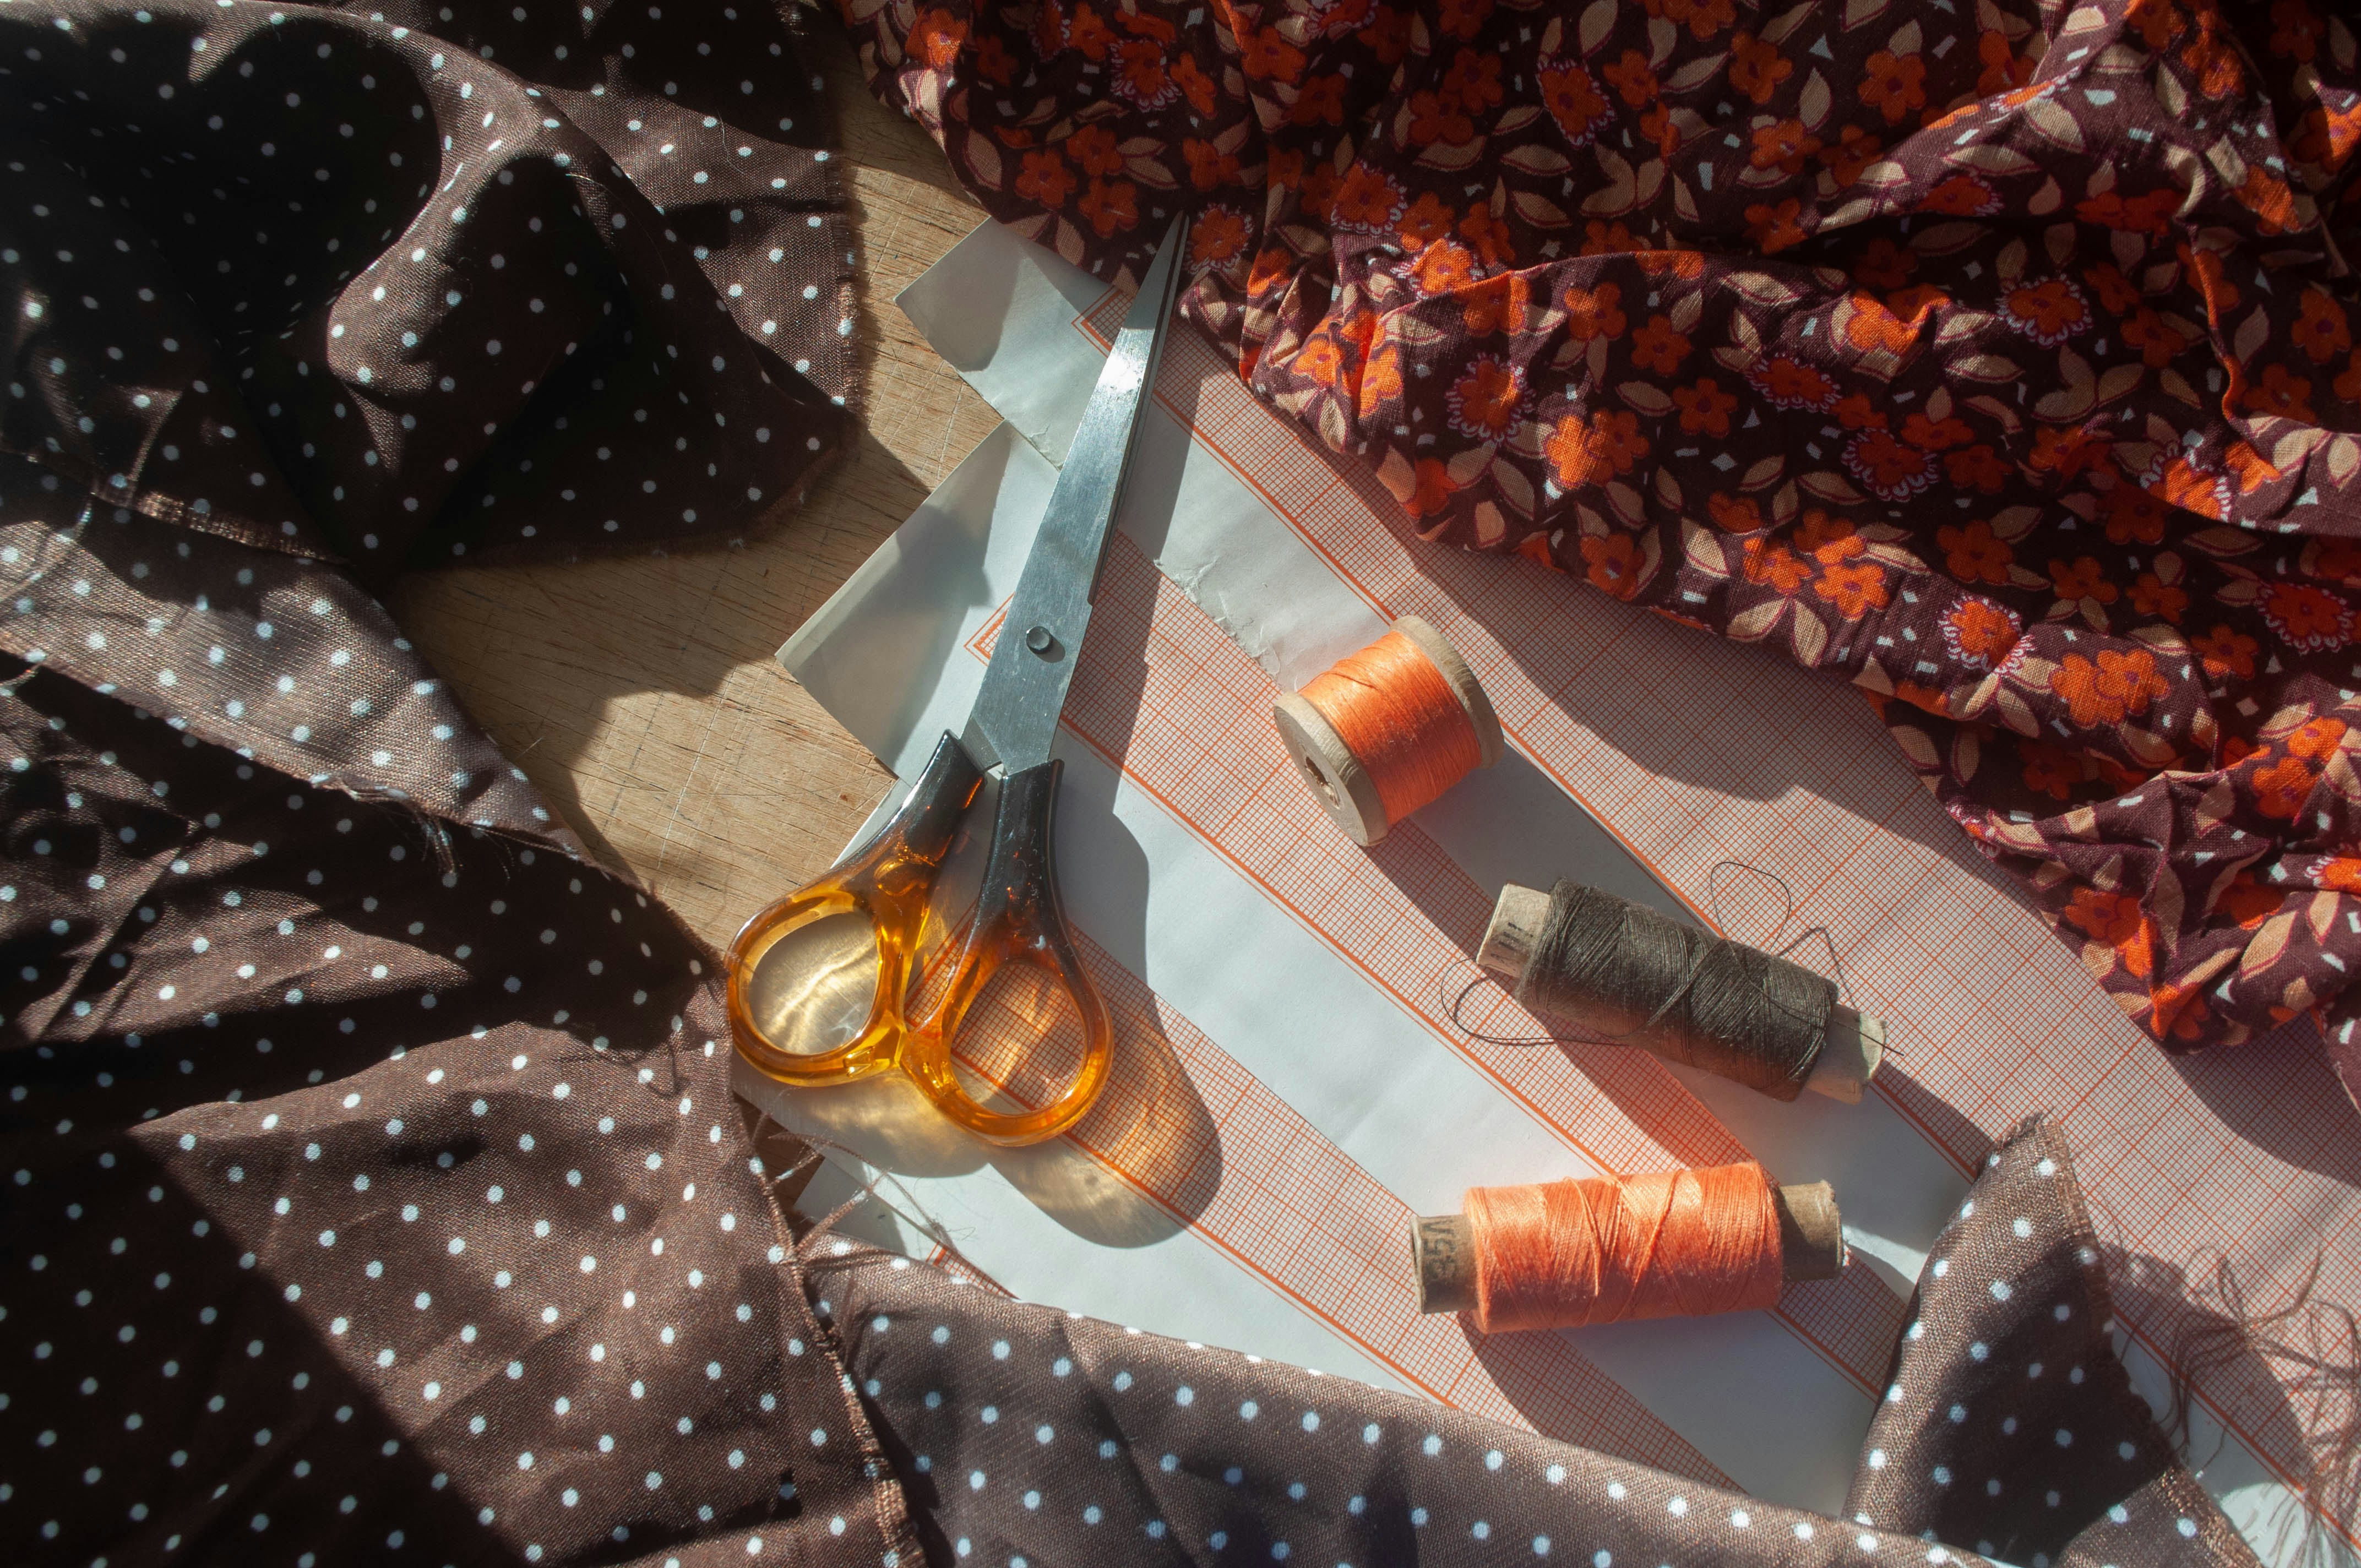
A beading needle is usually the best choice because it is thin and flexible, with an eye that can pass through small holes. A strong synthetic thread, such as nylon or monofilament, is generally more durable than standard cotton thread.
For extra strength, use doubled thread and consider conditioning it with beeswax to reduce tangling. For delicate fabrics, use a finer needle and a single strand of lightweight thread. For heavy fabrics, a stronger needle and heavier thread may be required.
Stitch the Stone Securely
Bring the needle up from the back of the fabric through one hole, then pass it back down through the second hole. Repeat this path several times to secure the stone. Keep the thread tension snug but not tight. Pulling too hard can pucker the fabric, while loose stitches leave the stone unstable.
After securing the stone, knot the thread on the back of the fabric. For larger designs, tie off and cut the thread after every few stones. This limits the damage if one thread breaks later.
Check the Finished Application
Inspect Stability and Alignment
After stitching, check that each stone sits flat and does not wobble. Review the spacing and alignment against the marked design. If a stone is loose, add one or two more stitches through the existing holes until it feels secure.
For garments, turn the item inside out and check the back of the fabric. Look for loose threads, knots or excess tension that may cause puckering. Trim the thread close to the knot for a clean finish.
Test the Material and Movement
Before scaling to bulk production, test the finished application on the actual material. Gently stretch, flex or handle the item to see how the stitches and fabric respond. For stretchy fabrics, the fabric should be able to move without breaking the thread.
For garments that will be washed, follow the care instructions and test a small sample first. Hand washing is generally gentler on stitched rhinestones, but the appropriate method depends on the fabric and the final product.
Document the Approved Method
Once the application method is confirmed, record the details: stone specification, hole position, needle type, thread type, stitch passes, tension and finishing method. This record helps keep repeat production consistent.
If the design is used across multiple products, keep a reference sample so future batches can be compared with the approved version.
Application Checklist for Sew-On Rhinestones
Use the following checklist to plan a sew-on rhinestone application. The answers help confirm the method before bulk production.
Sew-On Rhinestone Application Checklist
- What is the intended product and surface material?
- Which stone shape, size, color and hole position are required?
- Has the design been marked accurately on the fabric?
- Has the fabric been pre-washed, dried and ironed?
- Is the correct needle and thread selected for the material?
- How many stitch passes are needed to secure each stone?
- Is the thread tension snug without puckering the fabric?
- Has the finished application been tested on the actual material?
- Have the stitching details been recorded for repeat production?
- Is a reference sample retained for future comparison?
To ask about sew-on options, use the G&J contact page and include your product type, target material and required stone specification.
Ask About Sew-On Rhinestone Options
Sew-on glass rhinestones can be used across jewelry, garments, costumes and accessories. Share your product type, surface material and required stone specification to review suitable options.
G&J combines a broad rhinestone and jewelry accessory product range with manufacturing, wholesale and OEM/ODM capabilities.
ASK ABOUT SEW-ON OPTIONSFrequently Asked Questions
What is the best thread for sewing on glass rhinestones?
How many stitches are needed to secure a sew-on rhinestone?
How do I prevent fabric puckering when sewing on rhinestones?
Can sew-on rhinestones be used on stretchy fabrics?
How should garments with sew-on rhinestones be washed?
How do I fix a loose sew-on rhinestone?
Can G&J supply sew-on glass rhinestones for production?
Sources and Verification Notes
[1] G&J About Us – official company information, product scope, history and manufacturing background.
[2] G&J Official Website – homepage information on product categories, factory capability, warehouse, stock, applications and customer types.
[3] G&J Wholesale Rhinestones – official product category, application, customization and FAQ reference.
Verification note: Company-level figures and service descriptions should not be treated as a guarantee for every SKU. Before publication, confirm the current wording and supporting documents for MOQ, prices, stock, lead time, certifications, test reports, customer cases and product-specific performance claims.
```